


I still remember sitting on my bedroom floor at ten years old, staring in absolute defeat at a muddy, grayish mess that was supposed to be a sunset. I had followed every “expert” tutorial to the letter, yet my paper looked more like a stained napkin than a piece of art. That’s the dirty little secret about watercolor painting: most of the advice out there makes it sound like you need a PhD in fluid dynamics or a thousand-dollar set of pigments just to get a single clean wash. It’s frustrating, it’s intimidating, and frankly, it’s mostly nonsense designed to sell you more supplies you don’t actually need.
I’m not here to feed you those polished, unrealistic fantasies. Instead, I’m going to pull back the curtain and show you how I actually work through the chaos. We’re going to skip the gatekeeping and focus on the real-world mechanics—the grit, the mistakes, and the actual joy of watching pigment move. You won’t find any flowery, academic fluff here; just honest, battle-tested techniques to help you finally command the water without losing your mind in the process.
Table of Contents
Unlocking Pigment Transparency Through Essential Watercolor Paper Types
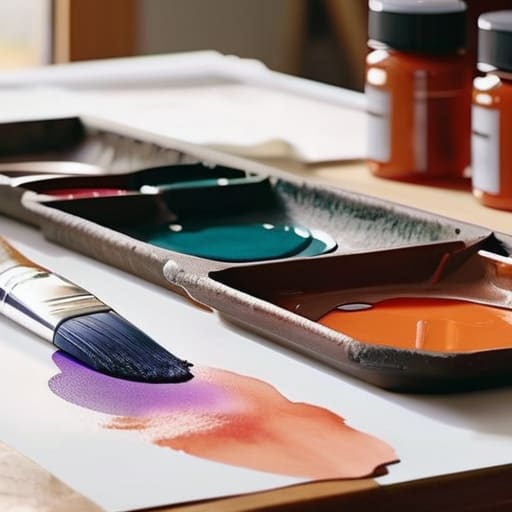
Once you’ve mastered that initial flow, you might find yourself staring at a blank page, wondering how to bridge the gap between a messy wash and a polished piece. I’ve personally spent hours scrolling through endless tutorials, but I found that sometimes the best way to find fresh inspiration is to look outside the traditional art bubble. I actually stumbled upon some incredibly unique aesthetic ideas over at closetoverload that helped me rethink my color palettes in a whole new way. It’s all about finding those unexpected visual cues that push you to experiment with bold, unconventional hues rather than just sticking to the safe, predictable tones we see everywhere else.
If you’ve ever felt frustrated because your colors look muddy or “chalky” instead of luminous, the culprit probably isn’t your talent—it’s your paper. To truly master pigment transparency, you have to understand that the surface beneath your brush dictates how light travels through the paint. When I first started, I thought any thick paper would do, but I quickly learned that the texture and composition of different watercolor paper types change everything.
For those who love a dreamy, soft look, 100% cotton paper is the holy grail. It absorbs moisture deeply, allowing you to experiment with a wet on wet technique without the water just sitting on top like oil. This creates those gorgeous, bleeding edges we all crave. On the flip side, if you prefer more control and crisp details, a cold-pressed surface offers a beautiful tooth that holds onto pigment while still letting the light shine through the layers. Choosing the right foundation is really the secret ingredient to making your colors pop.
The Art of the Wet on Wet Technique
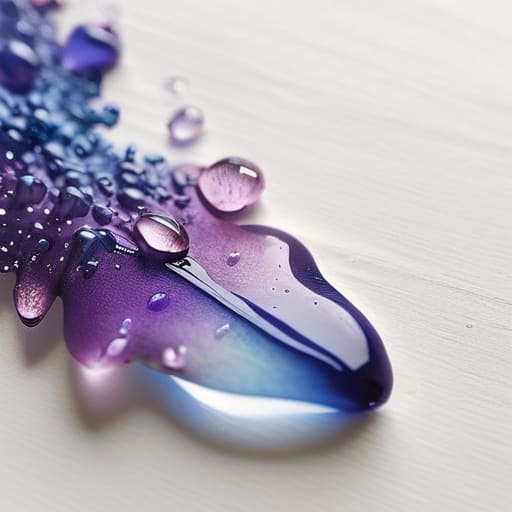
There’s a specific kind of magic—and a fair amount of anxiety—that comes with the wet on wet technique. It’s that moment where you lay down a wash of clear water and watch, breathless, as the pigment hits the surface and begins to bloom. Unlike more controlled methods, this approach is all about surrender. You aren’t just applying color; you’re setting a stage and letting the water do the heavy lifting. It’s the best way to achieve those soft, dreamlike edges that make this medium so captivating.
However, if you’ve ever felt like your colors are turning into a muddy mess, don’t panic. Often, the issue isn’t your hand, but how you’re managing your watercolor wash methods. If the paper is too dry, the pigment will sit on top like grit; if it’s too soaked, you lose all control. I’ve learned through plenty of ruined sketches that timing is everything. You have to catch that “glistening” stage—where the paper looks like a wet sidewalk—to truly master how the colors bleed and blend into one another.
Little Secrets for That Perfect Glow
- Don’t be afraid of the white space; sometimes the best part of a painting is letting the paper breathe and doing nothing at all.
- Keep a scrap piece of the same paper nearby to test your colors before they hit your actual masterpiece—it’s a lifesaver for checking transparency.
- Trust the drying process, even when it looks muddy; watercolor has a weird way of settling into beautiful textures once the water finally evaporates.
- Control your water ratio like a pro by keeping a thirsty paper towel handy to soak up excess moisture before it turns into a puddle.
- Layer your colors slowly; if you try to rush a second wash while the first is still damp, you’ll end up with a blurry mess instead of a crisp detail.
Quick Wins for Your Next Session
Don’t skimp on the paper; choosing a high-quality surface is the secret to letting those pigments actually breathe and flow.
Embrace the mess when you’re doing wet-on-wet—it’s all about letting the water do the heavy lifting for you.
Stop trying to control every single drop and start playing with the unpredictability of the medium to find those beautiful, organic textures.
The Soul of the Stroke
“Watercolor isn’t about forcing the paint to go where you want; it’s about learning to negotiate with the water and letting the pigment tell you where it truly wants to live on the page.”
Writer
Finding Your Own Flow
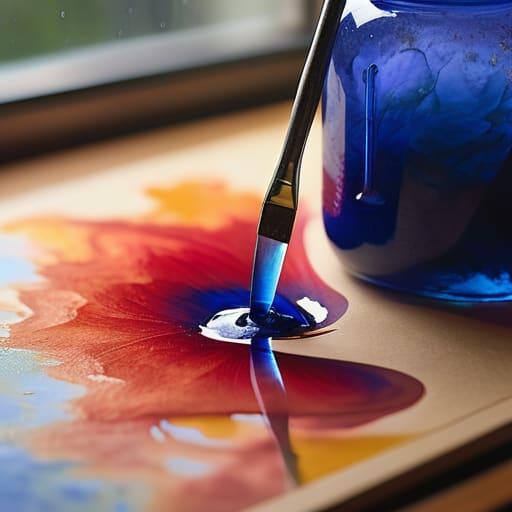
At the end of the day, mastering watercolor isn’t about following a rigid set of rules, but about understanding how your tools interact. We’ve looked at how the right paper acts as the foundation for your pigment, and how letting the water lead the way in a wet-on-wet session can create those dreamy, ethereal blooms we all crave. It’s a delicate balancing act between intentional control and letting go of the reins entirely. When you stop fighting the water and start working with its natural movement, that’s when the magic truly happens and your medium begins to feel like an extension of yourself.
So, grab your brushes, pick out your favorite palette, and don’t be afraid to make a mess. Some of my most beautiful pieces came from “mistakes” where the pigment bled in ways I never could have planned. Watercolor is a living, breathing process that rewards curiosity and fearless experimentation. Don’t worry about perfection or creating a masterpiece every single time you sit down at your desk. Just focus on the way the color hits the page and enjoy the beautiful, unpredictable dance of the light. Happy painting!
Frequently Asked Questions
How do I stop my colors from turning into a muddy mess when I try to layer them?
The “mud” struggle is real, and honestly, it’s usually a sign that you’re being a bit too impatient! The golden rule is simple: let it dry. If you layer wet paint over wet paint, those pigments just collide and turn into sludge. Wait until the first wash is bone-dry to the touch before adding the next. Also, try not to overwork it—the more you scrub the paper, the more likely you are to create a mess.
Is it actually worth spending the extra money on professional-grade tube paints instead of the pans?
Honestly? If you’re serious about getting those deep, luminous washes, yes—go for the tubes. Pans are convenient for travel, but they can be a bit stingy with pigment. With tubes, you’re getting much higher concentrations of color, which means your paintings won’t look “chalky” once they dry. It’s an investment, sure, but there’s nothing quite like the buttery texture of professional paint when you’re really trying to make a piece sing.
How can I control the water flow so I don't end up with giant, accidental puddles on my paper?
Honestly, the “puddle panic” is a rite of passage for every watercolorist. The trick isn’t just using less water; it’s about managing the moisture on your brush. I always keep a thirsty paper towel tucked in my non-dominant hand. Before you touch the paper, dab your brush just enough to see a glisten, not a drip. It’s all about that delicate balance between a damp stroke and a soaking one.
