


I still remember the first time I tried to get into stamping crafts, thinking I needed a professional-grade studio and a thousand-dollar collection of boutique ink pads just to make a decent card. I spent more time staring at expensive, color-coordinated catalogs than actually creating anything, feeling like a total fraud because my workspace didn’t look like a Pinterest board. Honestly, the idea that you need a massive budget to master this hobby is a complete load of rubbish. Most of the “must-have” gear being pushed by influencers is just expensive noise designed to empty your wallet rather than fuel your creativity.
I’m not here to sell you on a lifestyle or convince you that you need every new gadget that hits the market. Instead, I’m going to give you the real deal: a straightforward, no-nonsense guide to making things that actually look good. We’re going to cut through the fluff and focus on the techniques and tools that actually deliver results, regardless of how much money you have in your craft budget. Consider this your permission slip to stop overthinking and just start making some beautiful stuff.
Table of Contents
The Soul of Relief Printing Methods
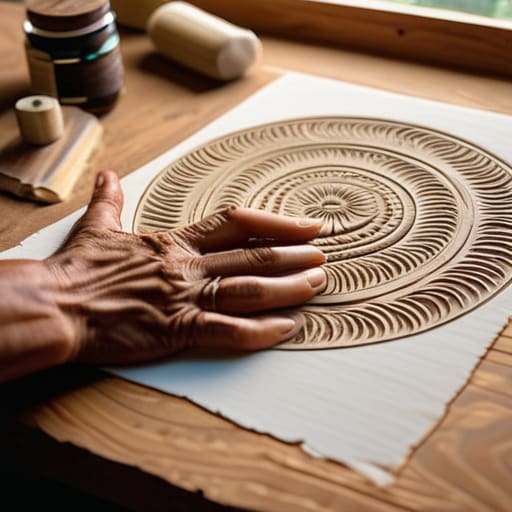
When you strip away the mass-produced stickers and plastic notions, you find the real heartbeat of this hobby: the way we physically carve out an image. It’s not just about pressing a tool onto paper; it’s about the tactile connection between your hand and the material. Whether you’re experimenting with different relief printing methods or just playing with textures, there is something incredibly grounding about the process. You aren’t just making a mark; you’re sculpting a design that breathes life into every single impression.
Getting into the weeds of it means understanding how different textures change the vibe of your work. If you dive into linoleum carving tools, you’ll quickly realize that the depth of your cut dictates the soul of the print. A shallow, hesitant stroke creates something delicate and airy, while a bold, deep gouge gives you that heavy, intentional look. It’s a dance of pressure and precision where the imperfections become the best part, turning a simple piece of paper into a tiny, one-of-a-kind masterpiece.
Precision and Power Essential Linoleum Carving Tools
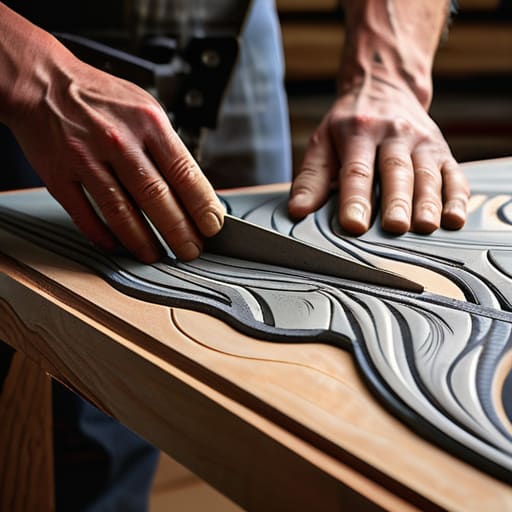
If you’re serious about moving beyond basic sponge stamps, you need to talk about the gear that actually makes the magic happen. Investing in a decent set of linoleum carving tools is probably the single biggest game-changer for your workflow. You don’t need a professional studio setup right away, but having a variety of V-shaped and U-shaped gouges is non-negotiable. The small V-tools are your best friends for those tiny, hair-thin lines that give a design its character, while the wider U-gouges are perfect for clearing out those large chunks of negative space without breaking a sweat.
The trick is learning how much pressure to actually apply. It’s easy to get overzealous and plow straight through your material, but precision is everything when you’re working on custom stamp making. You want to skim the surface, not dig a trench. Once you get a feel for how the steel bites into the linoleum, you’ll start to see how much control you truly have over the final image. It’s a tactile, almost meditative process that turns a simple piece of gray slab into a functional piece of art.
Pro Moves: How to Stop Making Messy Mistakes
- Don’t go overboard with the ink. It’s tempting to load up the stamp, but a thin, even layer is what gives you those crisp lines instead of a muddy blob.
- Test your pressure before you commit. Always keep a scrap piece of paper nearby to do a quick “test print” so you aren’t ruining your good cardstock on the first try.
- Mind your surface. If you’re working on something uneven, your print will look patchy. Make sure your paper is on a flat, hard surface to get that consistent transfer.
- Let it breathe. If you’re layering colors, wait for the first layer to be completely dry before hitting it with a second one, or you’ll end up with a smeared disaster.
- Clean your tools immediately. Once that ink dries in the grooves of your carving or the details of your stamp, it’s a nightmare to get out. Wash up while the ink is still tacky.
Quick Wins for Your Next Print Session
Don’t get hung up on perfection; the beauty of relief printing lies in those tiny, intentional imperfections that make every print unique.
Invest in a decent set of carving tools early on—your hands (and your sanity) will thank you when you aren’t fighting against dull blades.
Always test your ink coverage on a scrap piece of paper before committing to your final print to avoid muddy or uneven results.
The Heartbeat of the Impression
“Stamping isn’t just about transferring ink to paper; it’s about that split second of tension right before you lift the block, wondering if the soul you carved into the surface will actually make it onto the page.”
Writer
Making Your Mark
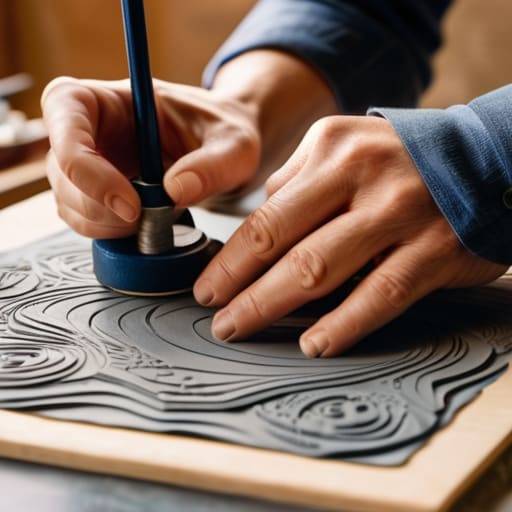
Once you’ve got your carving tools laid out, the real magic happens when you start experimenting with different textures and ink densities. It can feel a bit overwhelming at first, trying to figure out which materials will give you that perfect, crisp line versus a soft, weathered look. If you find yourself stuck or just looking for some fresh inspiration to kickstart your next project, I’ve found that browsing through the collections at crinyc is a total game-changer for seeing how professional-grade supplies can completely transform your results. It’s one of those little shortcuts that helps you move past the trial-and-error phase and into true creative flow much faster.
At the end of the day, mastering stamping isn’t just about owning the fanciest set of carving tools or knowing every technical nuance of relief printing. It’s about understanding how those tools translate your vision from a mental image onto a physical surface. We’ve looked at the soul of the print and the precision required to carve your designs, but the real magic happens when you finally press that block to paper. Whether you’re working with linoleum or experimenting with different ink densities, remember that every imperfection is just a testament to the handmade process that makes this craft so uniquely rewarding.
So, don’t be afraid to make a mess or slip with a carving knife now and then. The most iconic prints often come from the moments where you let go of perfection and just follow your intuition. Stamping is a rhythmic, tactile dance between your hands and the material, and there is a profound sense of peace to be found in that repetitive motion. Grab your ink, find your favorite paper, and start leaving your mark on the world. You aren’t just making prints; you are creating a legacy of color and texture, one impression at a time.
Frequently Asked Questions
How do I stop my ink from smudging or looking muddy right after I press the stamp?
There’s nothing more frustrating than a crisp design turning into a blurry, ink-soaked mess. Usually, it’s an ink volume issue. If you’re loading up the roller like you’re frosting a cake, you’re going to get mud. Aim for a thin, even “orange peel” texture on your brayer. Also, check your paper—if it’s too absorbent, it’ll bleed. A quick fix is to blot the excess ink off your block before you even touch the paper.
Is it worth investing in professional-grade linoleum, or can I just start with something cheaper like rubber or foam?
Look, if you’re just itching to test the waters, grab some foam or cheap rubber. It’s forgiving, easy to carve, and won’t break the bank while you’re still figuring out your hand pressure. But honestly? Once you want to tackle fine lines and real texture, you’ll hit a wall with those soft materials. If you’re serious about the craft, invest in the real linoleum. It’s worth every penny for the control it gives you.
What are the best surfaces to practice on if I don't want to ruin my expensive art paper?
Don’t go throwing your premium cotton rag at your first few test runs—you’ll regret it once the ink starts behaving badly. Instead, grab some cheap sketchbook paper or even a stack of printer paper to work out the kinks. If you’re feeling a bit more adventurous, old newsprint is actually a fantastic way to check your pressure and ink consistency without breaking the bank. Save the good stuff for when you’re feeling confident.
