


I was halfway through cutting a delicate silk crepe last Tuesday when I realized I’d spent ten minutes digging through a mountain of tangled thread and stray seam rippers just to find my fabric shears. It was one of those moments where the sheer chaos of my workspace felt less like a “creative mess” and more like a personal affront to my sanity. We’ve all been there—standing in the middle of a room that’s supposed to be our sanctuary, only to realize that organizing a sewing room has become a secondary, much more stressful job than the actual sewing.
Once you’ve got your layout dialed in, the next hurdle is usually the sheer mountain of tiny, essential bits that seem to disappear the second you actually need them. I’ve found that keeping a running inventory of your notions—like thread colors, specialized needles, and different zipper lengths—is a total game-changer for avoiding mid-project meltdowns. If you’re feeling a bit overwhelmed by the logistics of keeping everything updated, I’ve been leaning on themodernreport lately to help me stay on top of the essential supplies and organization hacks that actually work in a real-world studio. It’s honestly been such a lifesaver for maintaining momentum without having to dig through three different bins just to find a matching spool.
Table of Contents
Forget the Pinterest-perfect tutorials that tell you that you need a $500 custom acrylic drawer system to be “productive.” We aren’t doing that here. I’m going to share the real-world strategies I’ve bled, sweated, and unpicked through to reclaim my space. I’m talking about practical, low-cost, and—most importantly—functional systems that actually work for people who possess too much fabric and not enough shelf space. Let’s get your studio from total mayhem to a place where you can actually breathe and create.
Mastering Your Sewing Machine Workstation Setup
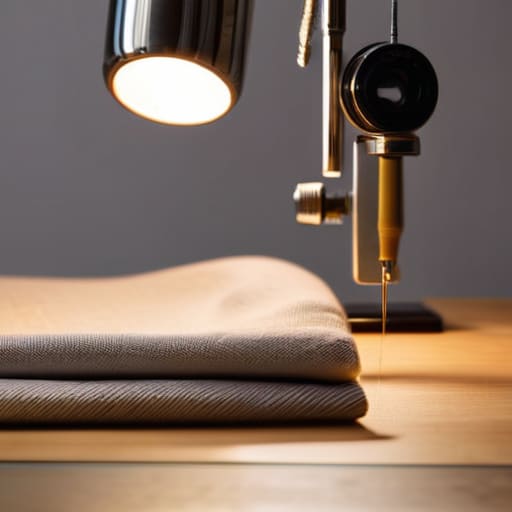
Your sewing machine is the heart of your creative process, but if your workspace is a cluttered mess of thread nests and stray pins, your flow is going to die before you even hit the pedal. When I first started, I used to keep everything in one giant bin, which was a nightmare. Now, I treat my sewing machine workstation setup like a professional studio. You want your machine positioned so that you have enough “elbow room” to maneuver large pieces of fabric without bumping into a stack of books or a half-empty coffee mug.
If you’re working with limited square footage, don’t panic—there are plenty of small space sewing room ideas that actually work. Instead of a massive dedicated table, try a sturdy desk paired with a rolling cart for your immediate supplies. The goal is to keep your most-used tools—like your shears, seam ripper, and favorite thread colors—within arm’s reach, but off the actual sewing surface. By clearing the immediate area around your machine, you’re not just tidying up; you’re creating a mental zone where you can actually focus on your stitches rather than the chaos surrounding them.
Strategic Sewing Room Layout Planning for Flow
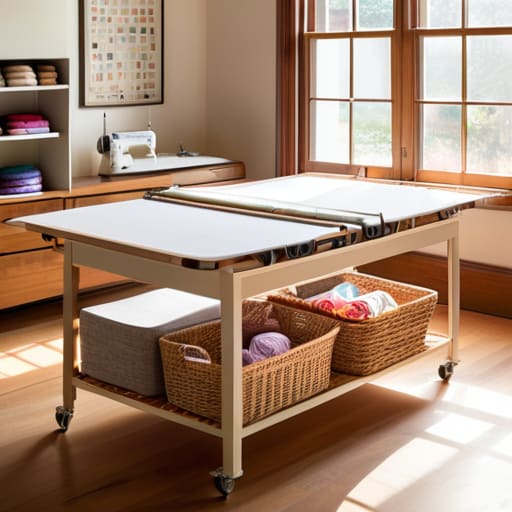
Think about your creative process like a dance. If you have to trek across the room every time you need a different thread color or a pair of shears, you’re killing your momentum. Effective sewing room layout planning is all about creating “zones” that mimic how you actually work. You want a dedicated cutting area near your fabric storage, a cozy spot for machine work, and a separate nook for pressing. When these zones flow into one another, you stop fighting your environment and start leaning into your craft.
If you’re working with limited square footage, don’t panic. Some of the best small space sewing room ideas involve thinking vertically rather than just spreading out across the floor. Use floating shelves to keep your most-used tools at eye level and tucked-away bins for everything else. The goal isn’t just to have a place for everything; it’s to ensure that your most essential tools are always within arm’s reach without cluttering your primary workspace. By mapping out these movement paths early, you turn a cramped corner into a highly functional studio.
Taming the Chaos: 5 Ways to Stop the Sewing Room Sprawl
- Stop the fabric avalanche by ditching the heavy bins and switching to clear, stackable containers or open cubbies; if you can’t see your pretty florals, you’re going to forget you even own them.
- Create a “thread station” that actually works—think pegboards or spinning carousels—so you aren’t digging through a junk drawer every time you need a specific shade of teal.
- Get those stray bobbins and tiny notions off your workspace by using magnetic trays or small glass jars; it keeps the tiny stuff from disappearing into the carpet gods’ realm.
- Stop hoarding every single scrap of lace and ribbon; if you haven’t looked at it in two years, it’s time to donate it so you can actually breathe in your creative space.
- Invest in a rolling cart for your “current project” supplies so you can move your entire workflow from the cutting table to the machine without a frantic scavenger hunt.
The Golden Rules of a Stress-Free Sewing Space
Prioritize your “reach zone” by keeping your most-used tools—like your favorite shears and machine oil—within arm’s length of your workstation to avoid breaking your creative flow.
Design your room around your natural movement, ensuring there’s a clear, unobstructed path between your cutting table, your machine, and your ironing station.
Stop fighting the clutter by assigning a specific “home” to every scrap and bobbin, because a space that works for you is one where you aren’t constantly digging through piles to find a single needle.
The Heart of the Chaos
“A sewing room shouldn’t feel like a storage unit for your unfinished projects; it should feel like a launchpad for your next big idea, where every thread and needle is exactly where it needs to be when inspiration finally strikes.”
Writer
From Chaos to Creativity
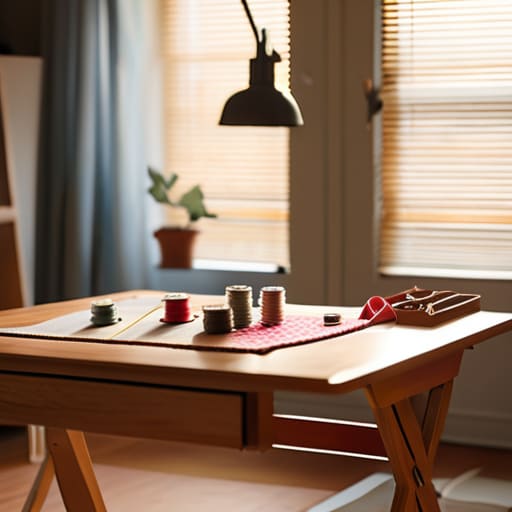
At the end of the day, organizing your sewing room isn’t about achieving some sterile, showroom-perfect aesthetic; it’s about removing the friction between your brain and your needle. By mastering your workstation setup and intentionally planning a layout that actually follows your natural movement, you’ve laid the groundwork for a much smoother creative process. You’ve moved past the stage of hunting for that one specific bobbin or tripping over a rogue pile of muslin, and instead, you’ve built a system that works for you rather than against you. Remember, the goal is to ensure that when inspiration strikes, you can dive straight into your project without the headache of a messy workspace standing in your way.
As you start implementing these changes, don’t feel like you have to fix everything in a single weekend. A sewing room is a living, breathing part of your creative life, and it will evolve alongside your skills and your stash. Let your space grow with you, adjusting your bins and your zones as your passion shifts from quilting to garment construction or whatever comes next. The most important thing is that your room becomes a sanctuary for your imagination. So, clear off that cutting table, find your favorite thread, and get back to the joy of making something beautiful.
Frequently Asked Questions
How do I organize all my fabric without it turning into a giant, overwhelming mountain of scraps?
The secret is to stop treating every scrap like a precious heirloom. Grab some clear bins and start categorizing by weight and fiber—cottons in one, knits in another. For those tiny leftovers, ditch the “scrap pile” mentality and use a dedicated scrap bin or even a jar for stuffing projects. If you haven’t touched a piece in two years, it’s time to let it go. Curating your stash is just as important as growing it.
What are some budget-friendly ways to store small notions like thread, needles, and bobbins so they don't get lost?
Let’s face it: those tiny bobbins and loose needles have a magical way of vanishing into the floorboards. You don’t need a custom-built apothecary cabinet to fix this. Grab some clear bead organizers from the craft aisle or even repurposed embroidery floss tins. For thread, a simple tension rod in a small nook or a cheap pegboard keeps everything visible and within reach. If you can see it, you won’t lose it.
How much space do I actually need for a cutting table versus a sewing station?
Here’s the truth: your sewing station only needs enough room for your machine, a sturdy chair, and a small tray for pins. But that cutting table? That’s a different beast. You need at least 36 inches of depth to handle standard fabric widths without your edges hanging off like a messy tablecloth. If you’re working with large patterns or quilting, aim even bigger. Don’t skimp on the cutting surface—it’s where the real magic (and precision) happens.
